
Lineart Tutorial
I've been getting more and more people asking me how I scan and clean up my lineart so I thought it would make sense to type up and formalize the advice I've been giving people in the form of an official tutorial.
I do all of my linework traditionally, pen on paper. When it's done I either take a picture of it with my phone or scan it in with a scanner (doesn't really matter which, although I find a scanner is a bit easier as long as the piece actually fits on the scanner bed). When I pull up the scanned/photographed image on my desktop, it usually looks something like this:
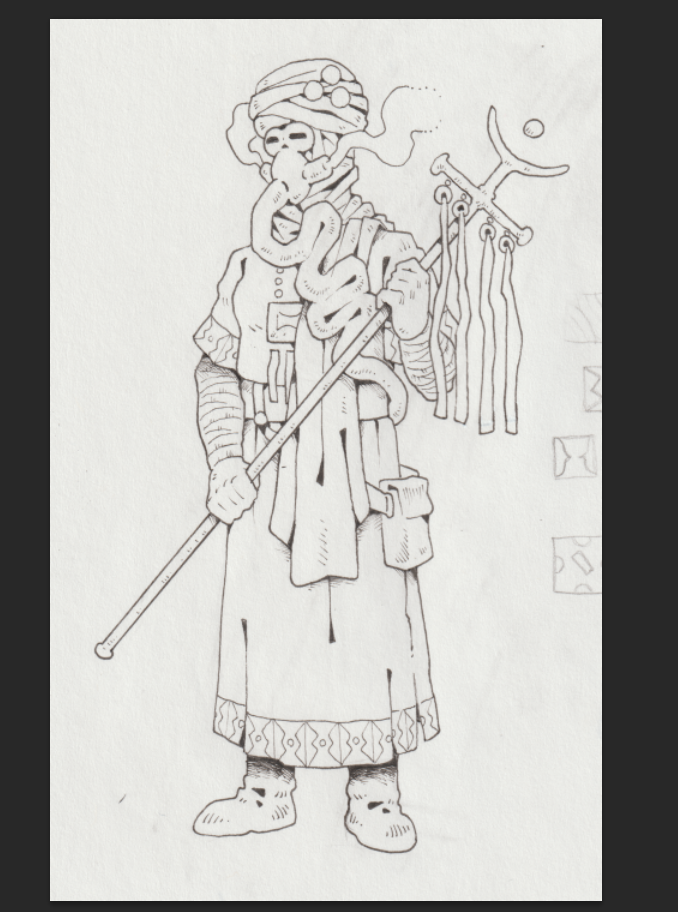
Low contrast, grey, some smudges. Overall, doesn't look very
nice. So the first thing I do in Photoshop is go to
image>adjustments>curves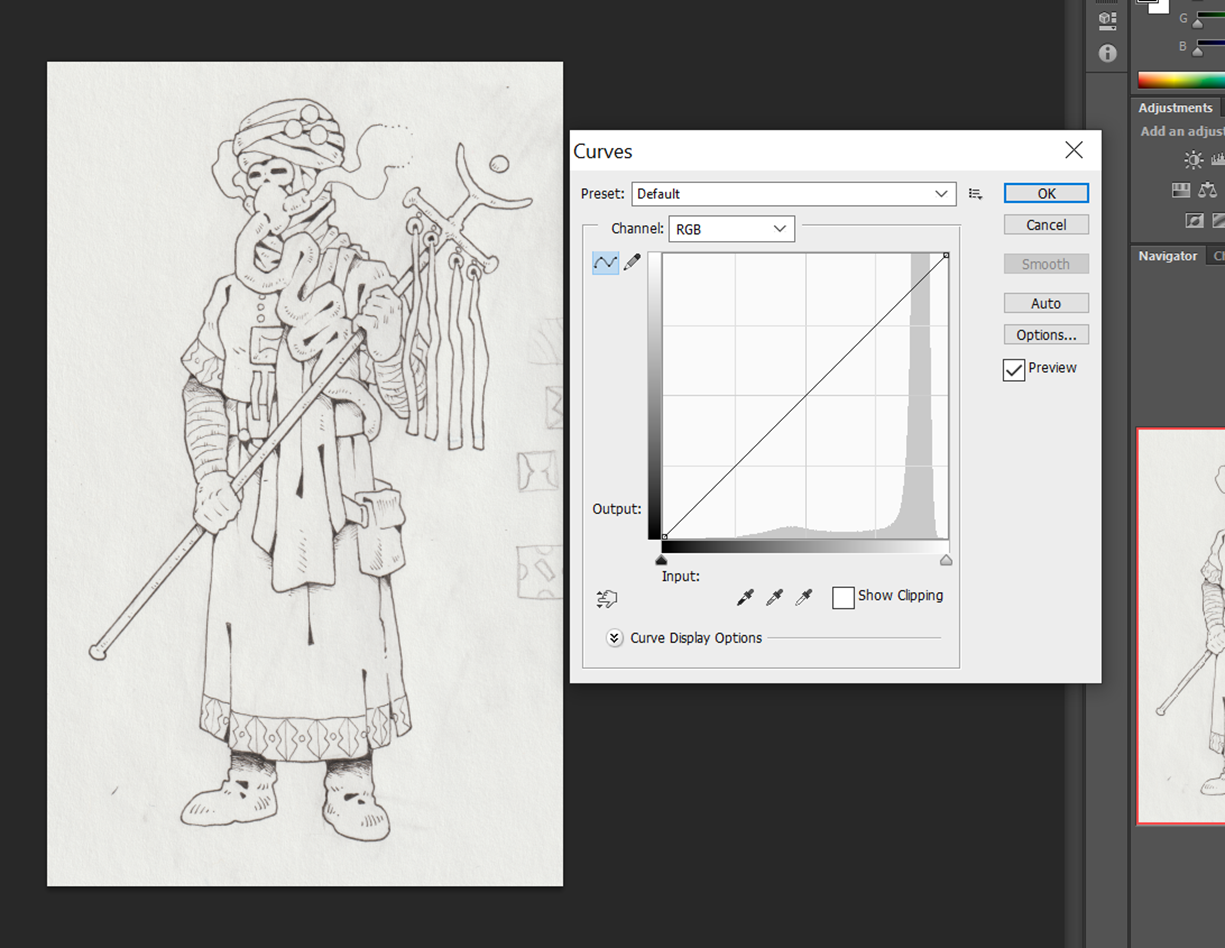
When you do that, the 'Curves' window will pop up. Now there's a diagonal line on the curves graph- what you want to do is drag the endpoints so that they line up approximately with the two maxima of the graph, like so:
That should give you much darker lines on a white background. You can then create a white layer underneath the layer with your lines. Then, on the layer with the lines, go to select->color range and select all the white in the image with 'Fuzziness' set to 200 (the maximum value)
'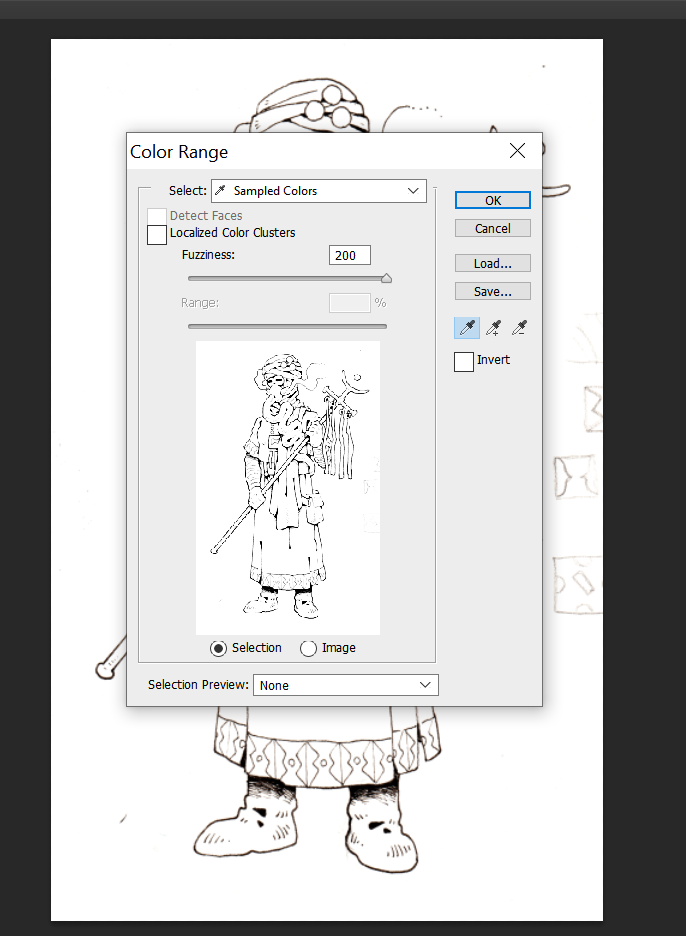
With the white selected, press 'ctrl+x' to delete it from the layer. Then enable 'lock transparent pixels' on the lineart layer and paint over it in 100% opacity black. This will ensure that the resulting lines are completely black without any unwanted greyish artifacts. You now have black lines on their own layer and a white background beneath. From here, you can add more layers for color beneath the layer with the lines.
Hope this helps!